
What do you do when you want a specific liqueur, but can’t find it anywhere? Make your own!
 I recently wanted to make a recipe using crème de mure (blackberry liqueur), but couldn’t find it locally. I could order it online, but it would take a week or more to arrive. Depending on the brand, crème de mure runs about $20 to $24 plus shipping. Crème de cassis is an acceptable substitute for crème de mure, but I really wanted authentic blackberry flavor. I also wanted something not as cloyingly sweet as crème de cassis.
There are plenty of DIY liqueur recipes out there, including those for blackberry liqueur. So I read as many as I could and picked apart the recipes, separating the good from the bad. The result is a less expensive, less sweet version of blackberry liqueur. The recipe is easy to execute, but a little time consuming. I assure you, it is totally worth the time and effort!
This site contains affiliate links. As an affiliate member I earn from qualifying purchases at no cost to you.
Homemade Blackberry Liqueur Basics
I suggest beginning any liqueur project with an 80 proof neutral base spirit. Vodka is a good choice since it is pretty much a blank canvas and will not interfere with the final flavor. That being said, I decided to use this Pisco instead of something totally neutral. Pisco is velvety on the tongue and lightly fruited with hints of floral. Blackberries taste similar to red grapes with a little sharp drying on the tongue. Since Pisco is made from grapes, I thought it a nice spirit to complement blackberry flavor. Bonus; I already had Pisco in my liquor cabinet. No out of pocket expense.
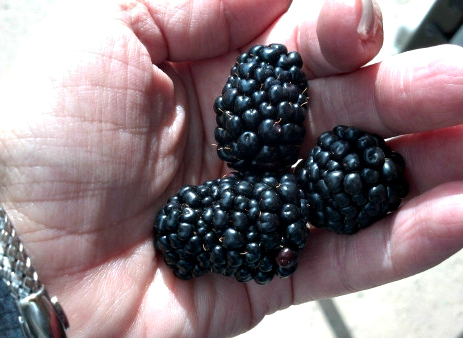 When it comes to fruit, fresh is best, but frozen works in a pinch. As luck would have it, I had a bag of frozen fruit in my freezer. Score! No extra grocery trip necessary.
When using frozen fruit, make sure there is no sugar added and thaw the fruit before using. There is almost always a little juice leftover in the container once frozen fruit is thawed. Use it right along with the fruit.
DIY Homemade Blackberry Liqueur
Don’t let the instructions below scare you away. Making liqueur is not difficult, but it does take some time. The process I used takes a little over 48 hours. The recipe uses typical kitchen items. You will need cheesecloth, fine mesh strainer, and a clean empty bottle with lid to complete the process.
Blackberry Liqueur – recipe by Cheri Loughlin
11 ounces 80 proof Neutral Base Spirit
12 ounces Fresh or Frozen Blackberries
6 ounces Distilled Water
4 ounces Simple Syrup
Place fresh or thawed blackberries in a bowl. Crush the berries with the back of a spoon or muddler. Pour neutral base spirit over the berries, making sure all berries are completely covered. Cover the bowl with plastic wrap or lid. Move the bowl to a dark, cool place such as a pantry. Walk away and leave the mixture to set for 24 hours.
After 24 hours, strain the berries from the liquid using a fine mesh strainer. Press as much liquid as possible from the berries. Save the liquid in a jar with lid and set aside. The liquid will be a little murky, but don’t worry about that for now.
Place the berries back into the original bowl. Pour the water over the berries, again making sure all the berries are completely covered. Cover the bowl with lid or plastic wrap and place it back into that cool, dark place. Let the mixture sit for another 24 hours.
Now the magic happens!
Strain the berries from the water using a fine mesh strainer. Again, press as much liquid from the berries as possible. Discard the berries.
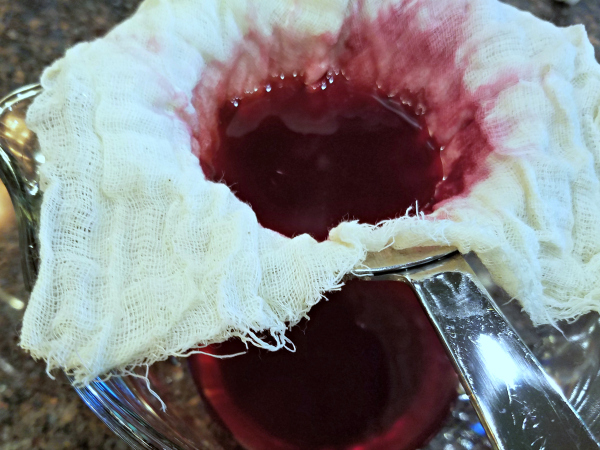
Combine the berry water and the berry infused spirit. Line a fine mesh strainer with several layers of dampened cheesecloth. Slowly begin straining the liquid through the cheesecloth and strainer. There is super fine berry pulp in the liquid, so straining takes time and patience. If the cheesecloth becomes too clogged for more liquid to go through, simply rinse out the cheesecloth before restarting the straining process.
I had to rinse my cheesecloth out about 3 times during the first straining process.
Once the liquid has been strained through cheesecloth and fine mesh strainer, rinse the cheesecloth and strainer. Now strain the liquid again through the cheesecloth just like you did in the first straining process. This time there should be no issue with pulp clogging the cheesecloth.
I chose to strain my liquid three times to ensure all the residual pulp was completely gone. The liquid should be see-through with no remaining pulp. Pulp remaining in the liquid could result in mold down the line.
Now it gets fun again rather than tedious.
Taste a small teaspoon of liquid to determine how much sweetener you will need. Fruit varies in sweetness from one batch to the next, so always taste first. I used simple syrup to sweeten my liqueur. Simple syrup is super easy to make and a bar staple if you are a cocktail lover. However, if you do not have simple syrup, use granulated sugar instead. Granulated sugar needs to be stirred in until it is completely dissolved. Simple syrup dissolves immediately when added to other liquids.
I opted for medium sweetness by adding 4 ounces of simple syrup to my blackberry mixture. Simply pour in the simple syrup and stir. You could add up to 8 ounces of simple syrup depending on the sweetness level you desire.
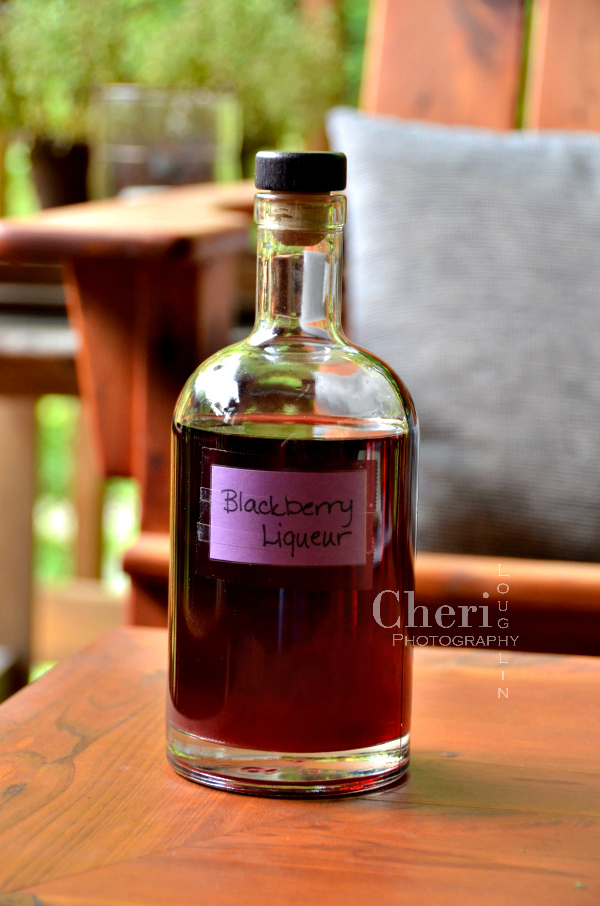
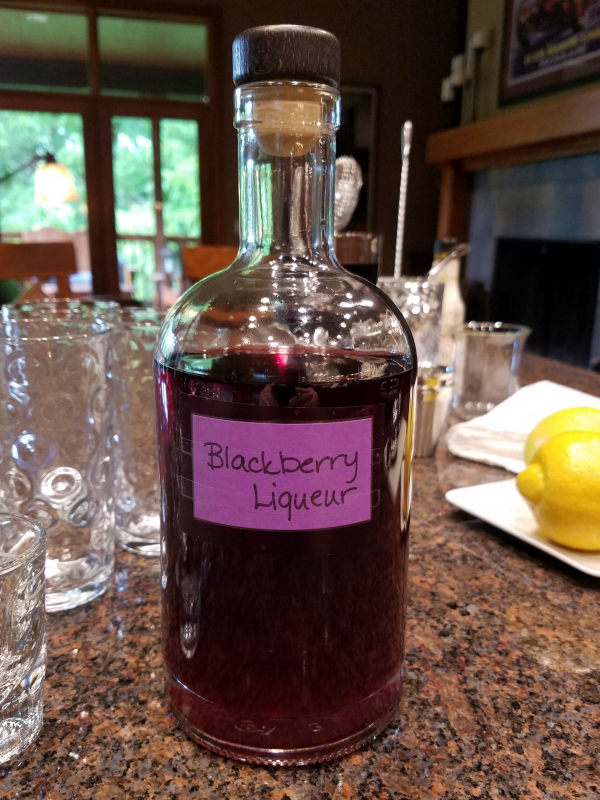 Last of all, pour the blackberry liqueur into a clean bottle and seal it with a lid. It is shelf stable and will keep for quite a while. I used a clean, empty vodka bottle for my liqueur. You could dress up the bottle with a pretty label or bottle it in several small bottles to give as gifts. You can see I took the easy route and labeled mine with a post-it note and magic tape. Not Pinterest worthy cute, but it gets the job done.
Tada! Your blackberry liqueur is now ready for cocktails or sipping as is.
All content ©2017 Cheri Loughlin, The Intoxicologist. All Rights Reserved. Chat with Cheri @TheIntoxicologist on Instagram and facebook.com/Intoxicologist
Cheri Loughlin is the Omaha writer and photographer behind www.intoxicologist.net. Email Cheri with comments and questions at str8upcocktails at gmail.com.
YOU MIGHT ALSO LIKE...


Powered by YARPP.